Fresh, cheap, and healthy homemade yoghurt. This homemade yoghurt is so simple to make and you get to decide what’s in it!
This blog post was originally posted in July 2022. I’ve added new photos, updated the content, and added a video.
Never did I think that it would be THIS simple to make homemade yoghurt. I’d been playing with the idea for a while thanks to my Women’s Heritage Sourcebook. But it still seemed too complicated.
I couldn’t quite wrap my head around the recipes that I’d come across. So I gave up.
My interest was piqued again when I was visiting a friend. Because on her kitchen counter was a big container of fresh homemade yoghurt. Waiting to be put in the fridge.
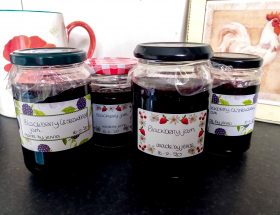
There is something exciting about grabbing a homemade batch of yoghurt from the fridge knowing that it was made with personally picked (and high quality) ingredients. And for a fraction of the price of those fancy yoghurts sold in the supermarket!
It’s also so satisfying to add yet another skill to your skillset. Ran out of yoghurt? No problem, after mastering this recipe you can whip up a new batch without having to go to the supermarket. Self-sufficiency here we come.
Now, the method that I use is a fusion of two recipes. The yoghurt recipe from the Nourishing Traditions cookbook. And an useful article by Maria Dernikos which explains how to make yoghurt with an Easiyo maker.
If you haven’t heard of the Nourishing Traditions cookbook yet, I recommend it! I bought it a couple of months ago and it is such a treasure of nourishing recipes and useful information.
I make my yoghurt with the help of an Easiyo maker because I happen to have it and it simplifies the process even more. But I will also mention how to make it in the oven.
At the end of the post I will also share which extra step you can take to make creamy, thick Greek yoghurt.
WATCH THE VIDEO
TOOLS AND INGREDIENTS

The tools that you will need to make this yoghurt are:
- A medium-sized saucepan
- A (wooden) spoon
- A kitchen scale or measuring jug
- A candy or meat thermometer
- An Easiyo maker OR a shallow glass, enamel, or stainless steel container (suitable for in the oven) as well as a storage container to store the yoghurt in the fridge
- If you want to make Greek yoghurt you will also need: a large sieve, large-sized bowl, and a muslin cloth
The ingredients that you will need to make this yoghurt are:
- Pasteurised milk (You can choose which type of milk but I like to use whole milk. To clarify, most milks in the supermarkets in the UK are pasteurised.)
- A good quality commercial plain yoghurt which I like to call the ‘mother’ yoghurt (I like to use Aldi’s Brooklea 10% fat Greek yoghurt to start it off and if a previous batch is a bit old or has accidentally been finished). The reason I really like the Brooklea yoghurt is because it contains live cultures which is meant to be extra good for your gut.
A little side note, if you’re interested in reducing ultra-processed foods in your household, I highly (!) recommend the Instagram account Switch the UPF. Especially if you’re based in the UK. Because this lady doesn’t just talk about ‘you should avoid UPFs’. She actually does the hard work and shows you specific (non or low UPF) products in supermarkets. And that I just find so helpful.
She’s the reason why we switched from the Aldi and Lidl full fat greek style yoghurt to the Aldi Brooklea 10% fat Greek yoghurt.
The measurements to make 1 litre of yoghurt (or 500 ml of Greek yoghurt) are mentioned in the printable at the end of this page.
Jump to the end of this pageHOW TO MAKE HOMEMADE YOGHURT
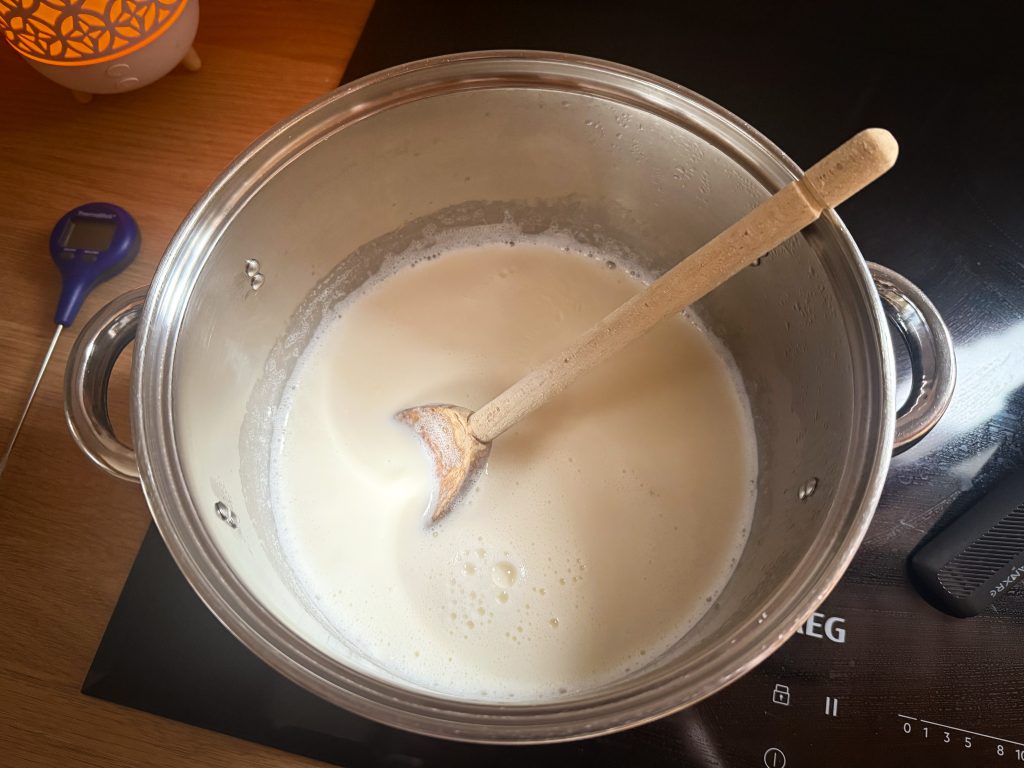
1.Start by heating the milk to 82 degrees Celsius in the saucepan on a medium heat. Stir it occasionally to prevent a skin forming on top of the milk and the milk to burn at the bottom of the saucepan. Once it reaches that temperature, take it off the stove and allow it to cool to 43 degrees Celsius. That will take around 30-40 minutes. These temperatures are temperatures to aim for so please don’t worry if the temperature of the milk ends up slightly higher or lower.
Now add the good quality commercial plain yoghurt which I also like to call the ‘mother’ yoghurt (or a previous homemade batch if you are on your second or third batch made from your ‘mother’ yoghurt). Stir well.
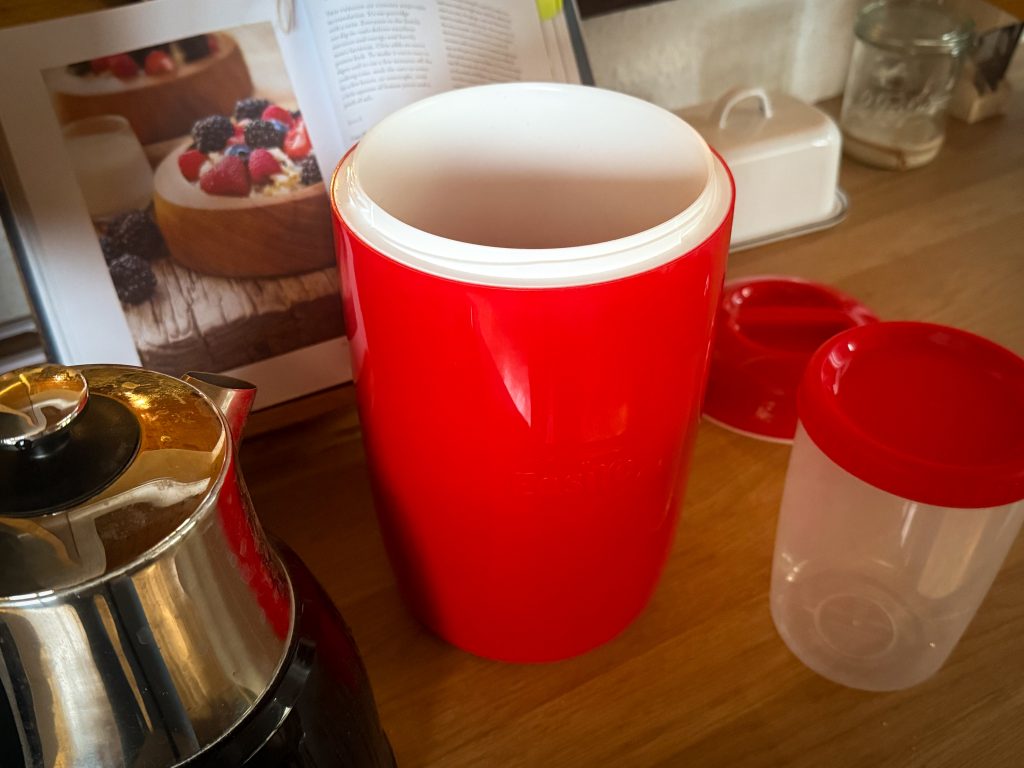
> If you are using an Easiyo maker. Then add water to the container holder (as you usually would when making Easiyo yoghurt). You want to make sure the temperature of this water is also around 43 degrees Celsius. To reach this temperature, I usually add 50% boiling water and 50% cold tap water. Next, add the milk-yoghurt mixture to the container and close the lid. After, put the container in the Easiyo maker, close the lid, and leave it undisturbed for 10 hours.
> If you aren’t using an Easiyo maker. Then make sure to heat the oven to 43 degrees Celsius (or just leave the oven light on, this should allow the oven to heat to a similar temperature). Put the milk-yoghurt mixture in the container, cover it with for example silver foil or a dish cloth, and put it in the oven for 10 hours.
Once the 10 hours have passed, put the yoghurt in the fridge to chill for at least 6 hours before you eat it.
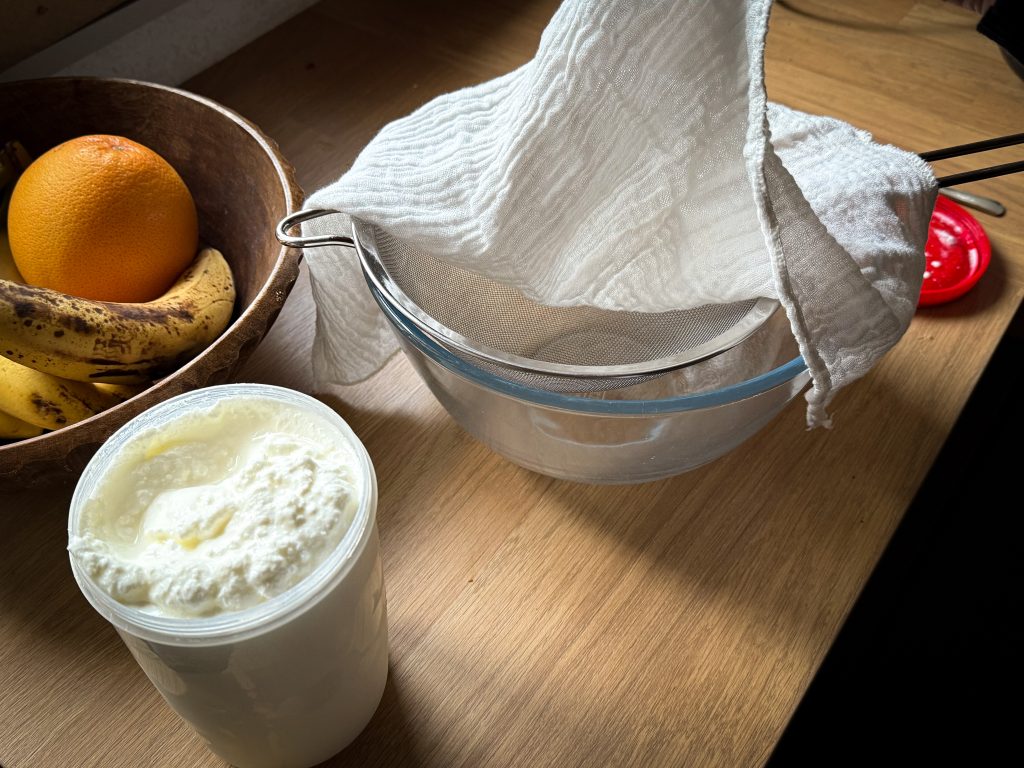
If you want to make Greek yoghurt. Then put the yoghurt in a sieve lined with muslin cloth above a bowl to allow it to strain. Put that in the fridge for 2-3 hours.
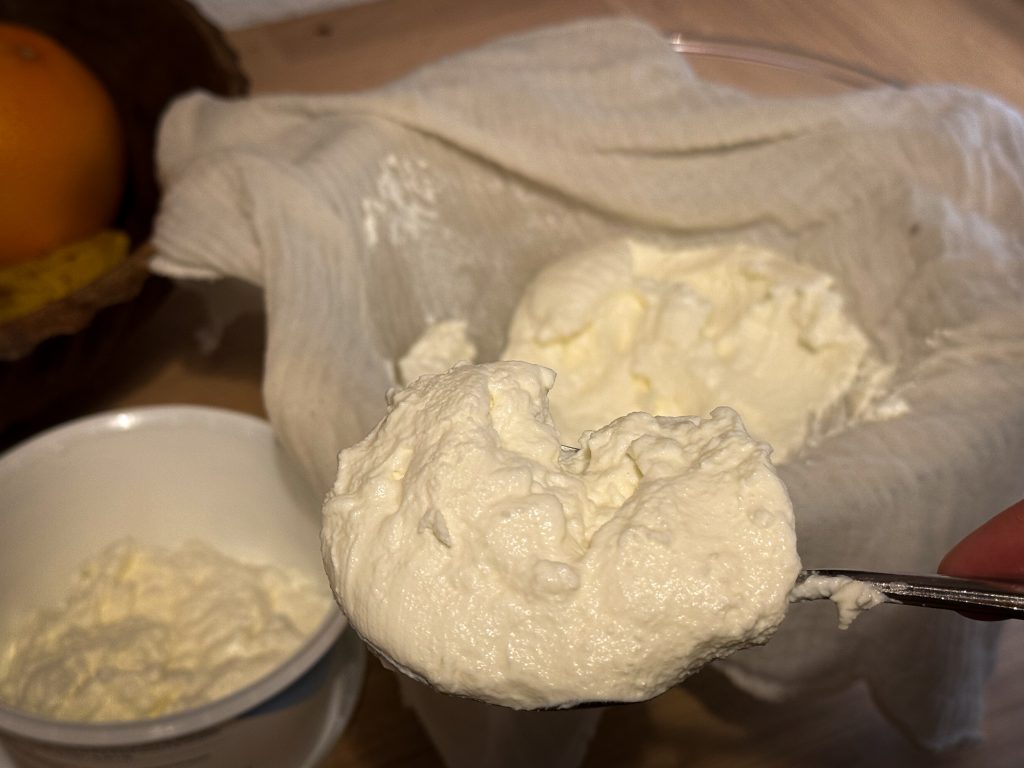
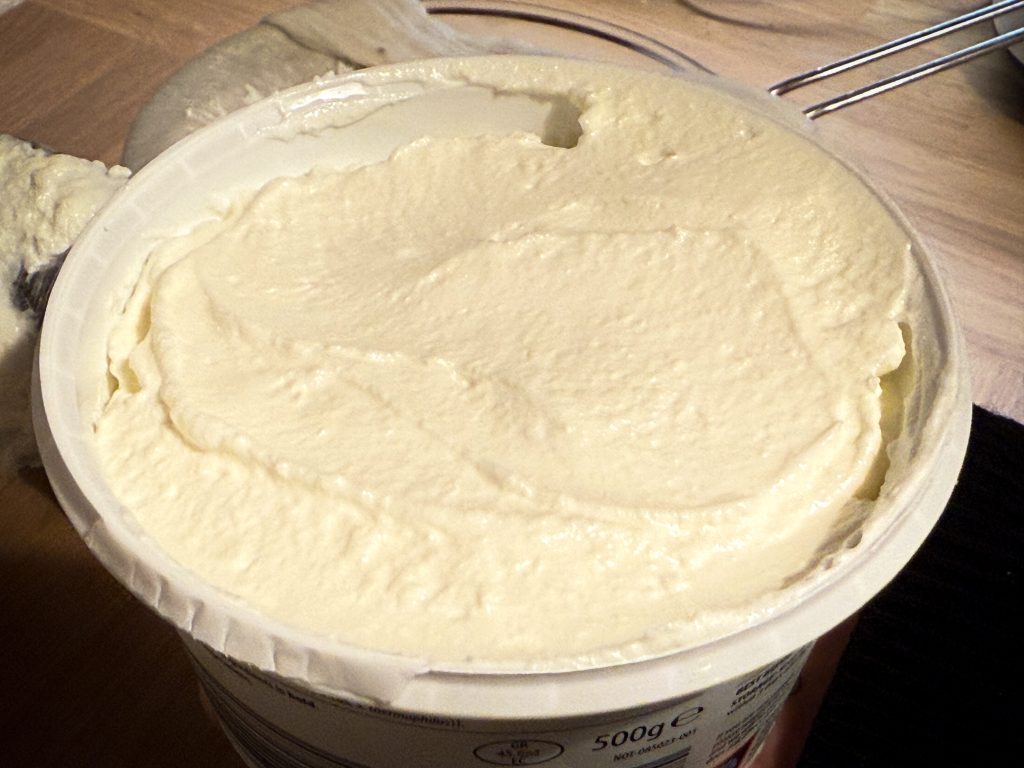
After 2-3 hours, take the yoghurt from the muslin cloth-lined sieve and put it in a storage container. Next, put this storage container back in the fridge to chill for at least 6 hours before you eat it.
TIMELINE

It will take approximately 45 minutes-1 hour to heat and cool the milk. 10 hours to let the yoghurt set. 2-3 hours to strain the yoghurt to create Greek yoghurt. And lastly, at least 6 hours to cool the finished yoghurt in the fridge before consuming it (With regular yoghurt, straight after the 10 hours are up. With Greek yoghurt, after the yoghurt has strained for 2-3 hours). We are looking at 20 hours at the most for the whole process.
So, if you want to have a cold, fresh batch of regular yoghurt for the next morning. Then you need to make sure to start making it at 11:30 am at the latest (assuming you’ll want to put it in the fridge at 22:30 at the latest). If you are making Greek yoghurt, then you will need to start making it at 8:30 am at the latest. Because you will need enough time in the evening to strain the yoghurt.
Another option, if you don’t mind waiting for the yoghurt and are using the yoghurt maker method, is to start preparing it right before bed. That way, the 10 hours for the yoghurt to set happen while you’re sleeping. The next morning when you wake up you can then either put it straight in the fridge (provided you don’t sleep in too long). Or you can start straining it then for the Greek yoghurt.
The homemade yoghurt will last up to 2 weeks when kept in the fridge. But if you intend to use your previous yoghurt batch as a culture (so the yoghurt that you add at step 2) for your next batch, make sure that it’s not older than 7 days.
Please note, it is said that you can only re-use a store bought batch 2-3 times. After that, it’s recommended to start over again with a store-bought yoghurt.
There you have it. With a bit of planning, very little effort, and 1-2 pounds worth of ingredients, you can have a fresh, homemade batch of yoghurt.
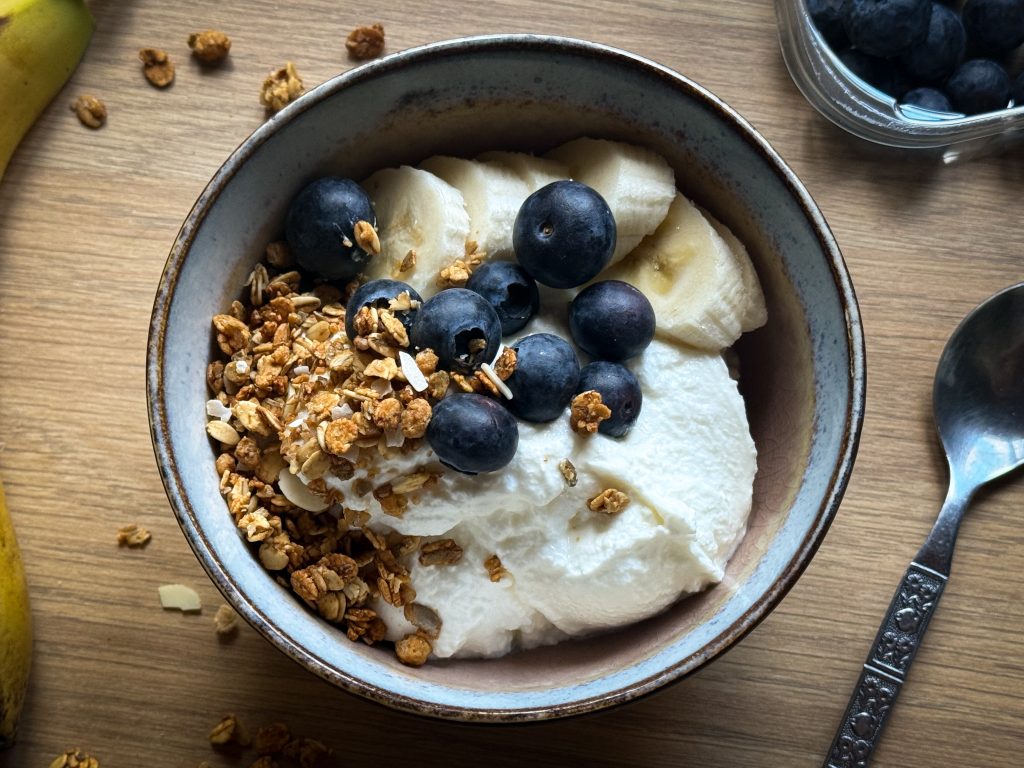
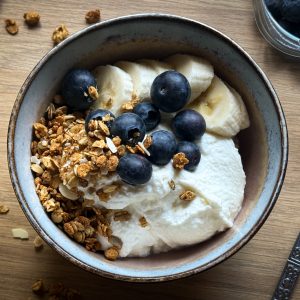
I often have this yoghurt with some homemade granola and fruit for breakfast. I highly recommend the coco-nutty granola from I Quit Sugar. I also like to use yoghurt to make homemade naan or these amazing yoghurt apple pancakes. They honestly taste like apfle strudels.
How to Make Homemade Yoghurt
Equipment
- A medium sized saucepan
- A (wooden) spoon
- A kitchen scale or a measuring jug
- A candy or meat thermometer
- An Easiyo maker OR a shallow glass, enamel, or stainless steel container (oven proof) as well as a storage container to store the yoghurt in the fridge
- If you are making Greek yoghurt, you will also need: a large sieve, a muslin cloth, and a large sized bowl
Ingredients
- 1 litre Pasteurised milk You can choose which type of milk but I like to use whole milk. To clarify, most milks in the supermarkets in the UK are pasteurised.
- 2 tbsp A good quality commercial plain yoghurt which I like to call the 'mother' yoghurt I like to use Aldi's Brooklea 10% fat Greek yoghurt to start it off and if a previous batch is a bit old or has accidentally been finished). The reason I really like the Brooklea yoghurt is because it contains live cultures which is meant to be extra good for your gut.
Instructions
- Start by heating the milk to 82 degrees Celsius in the saucepan on a medium heat. Stir it occasionally to prevent a skin forming on top of the milk and the milk to burn at the bottom of the saucepan. Once it reaches that temperature, take it off the stove and allow it to cool to 43 degrees Celsius. That will take around 30-40 minutes. These temperatures are temperatures to aim for so please don't worry if the temperature of the milk ends up slightly higher or lower.
- Now add the good quality commercial plain yoghurt which I also like to call the 'mother' yoghurt (or a previous homemade batch if you are on your second or third batch made from your 'mother' yoghurt). Stir well.
- > If you are using an Easiyo maker. Then add water to the container holder (as you usually would when making Easiyo yoghurt). You want to make sure the temperature of this water is also around 43 degrees Celsius. To reach this temperature, I usually add 50% boiling water and 50% cold tap water. Next, add the milk-yoghurt mixture to the container and close the lid. After, put the container in the Easiyo maker, close the lid, and leave it undisturbed for 10 hours.> If you aren't using an Easiyo maker. Then make sure to heat the oven to 43 degrees Celsius (or just leave the oven light on, this should allow the oven to heat to a similar temperature). Put the milk-yoghurt mixture in the container, cover it with for example silver foil or a dish cloth, and put it in the oven for 10 hours.
- Once the 10 hours have passed, put the yoghurt in the fridge to chill for at least 6 hours before you eat it.
- After 2-3 hours, take the yoghurt from the muslin cloth-lined sieve and put it in a storage container. Next, put this storage container back in the fridge to chill for at least 6 hours before you eat it.